How to Create a Facebook Business Page: A Step-by-Step Guide.
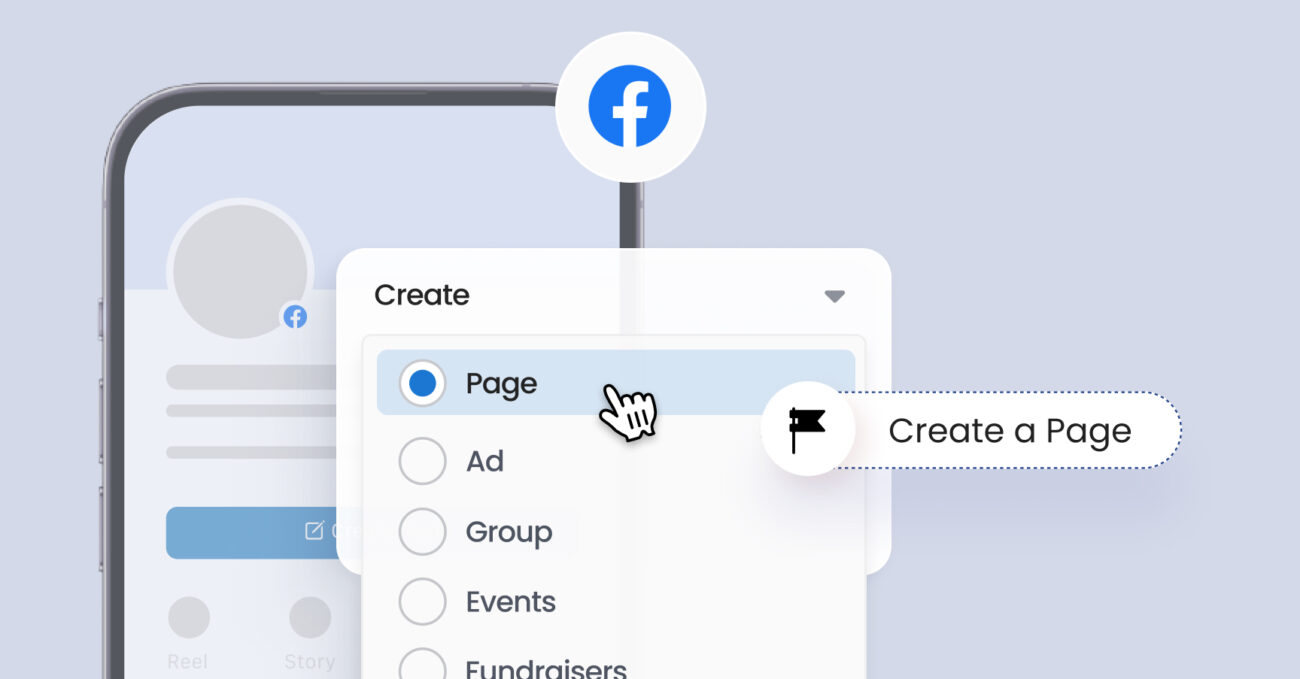
In today’s digital world, having a strong presence on social media is crucial for any business. Facebook, with its massive global user base, remains one of the most effective platforms for businesses to connect with their audience. A Facebook Business Page allows businesses to promote their brand, engage with customers, and even drive sales. Whether you’re starting a small business or scaling an existing one, learning how to create a Facebook Business Page is essential.
In this comprehensive guide, we will walk you through everything you need to know to make a Facebook Business Page, from initial setup to optimizing it for better results.
Why Should You Create a Facebook Business Page?
Before we dive into the process of creating a Facebook Business Page, let’s briefly discuss why it’s essential for your business:
- Access to a Global Audience: Facebook has over 2.9 billion active users, making it the ideal platform to reach a massive and diverse audience.
- Cost-Effective Marketing: Organic reach and Facebook Ads allow businesses of all sizes to market themselves without a hefty advertising budget.
- Customer Interaction: A Facebook Business Page serves as a platform to communicate directly with your customers, answer their questions, and receive feedback.
- Enhanced Brand Credibility: Having an official Facebook Page for your business lends professionalism and credibility to your brand.
- Detailed Insights and Analytics: Facebook provides robust tools to track performance, giving you insights into audience behavior, post engagement, and more.
Now, let’s get into how you can create a Facebook Business Page and set it up for success.
Step 1: Log In to Facebook
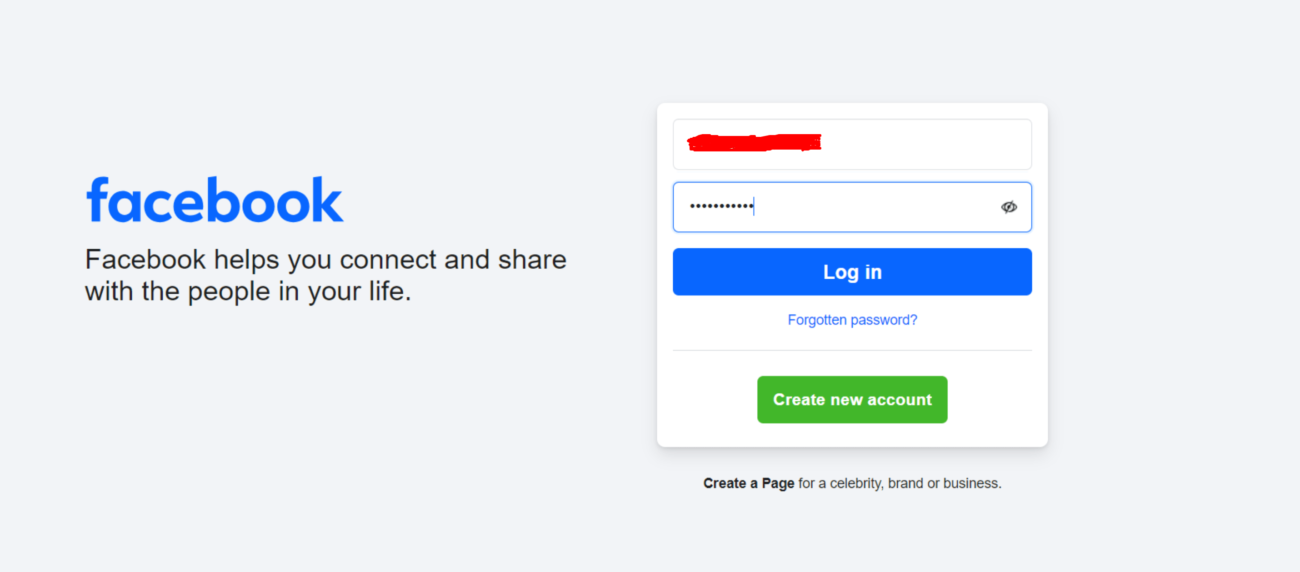
Before you can make a Facebook Business Page, you must have a personal Facebook account. Facebook uses personal accounts to manage Business Pages, so if you don’t already have one, here’s how to set it up:
- Go to facebook.com.
- Click “Create New Account” and enter your details (name, email or phone number, password, etc.).
- Follow the prompts to complete account verification.
Once your account is active, log in to Facebook to start the process.
Step 2: Access the Page Creation Tool
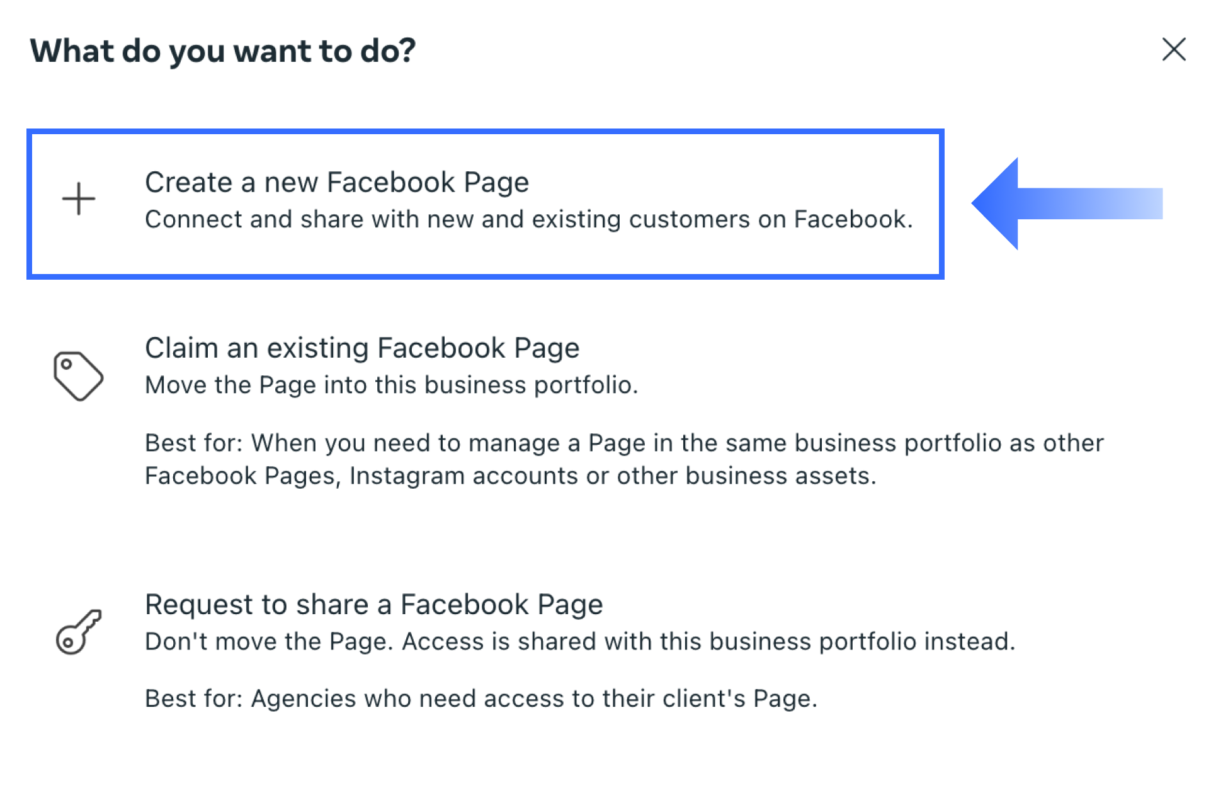
To create a Facebook Business Page, follow these steps:
- After logging into Facebook, click on the menu icon (the nine dots) at the top-right corner of the screen.
- Select “Pages” from the dropdown menu.
- You will be directed to the “Pages” dashboard. Click on the “Create New Page” button.
Now, you’re ready to enter the details of your new business page.
Step 3: Fill in Your Business Information
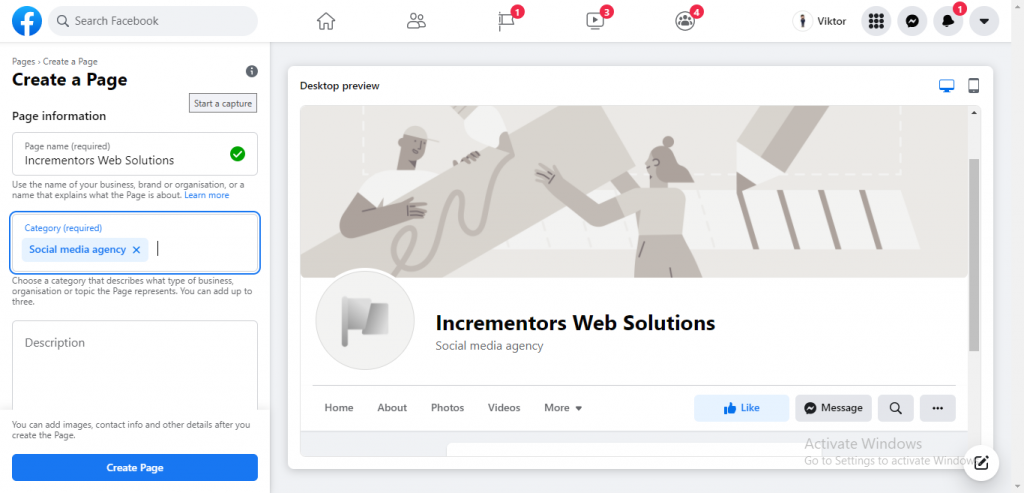
On the next screen, you will need to provide key information about your business:
- Page Name: This should be the name of your business. Make sure it’s consistent with your branding.
- Category: Start typing to find a category that best describes your business. Categories help Facebook recommend your page to the right audience. For example, if you own a bakery, choose “Bakery” or “Restaurant.”
- Description: Write a concise summary of what your business does. You are limited to 255 characters, so be clear and to the point.
Once you have filled out these details, click “Create Page” to move to the next step.
Step 4: Add Profile and Cover Photos

Visuals are an important part of your Facebook Business Page. Here’s how to upload your profile and cover photos:
- Profile Picture: This image will represent your business across Facebook. If you have a logo, this is the best place to use it. The recommended dimensions are 170 x 170 pixels.
- To upload your profile picture, click the camera icon in the profile photo section and select an image from your computer.
- Cover Photo: This is the larger image that appears at the top of your page. It’s a great place to showcase your products, services, or something visually captivating about your brand. The ideal size for a cover photo is 1200 x 628 pixels.
- Click the camera icon in the cover photo section and upload your image.
- Profile Picture: This image will represent your business across Facebook. If you have a logo, this is the best place to use it. The recommended dimensions are 170 x 170 pixels.
High-quality images will help your page look professional and inviting.
Step 5: Complete Your Page Details
To make your Facebook Business Page more informative and user-friendly, you’ll need to add important business details. Here’s what you should include:
- Contact Information: Add your business phone number, email address, and website to make it easier for customers to contact you.
- Location: If you have a physical store or office, include your business address. This will help local customers find your business.
- Hours of Operation: Provide your business hours so people know when you’re available.
- Business Details: Add your mission, services, or any relevant information that gives potential customers a deeper understanding of what your business does.
To edit these sections, go to your page’s “Edit Page Info” section and update the relevant fields.
Step 6: Set Your Username (Vanity URL)
A Facebook Business Page allows you to create a custom username, which will also serve as the URL for your page (e.g., facebook.com/YourBusinessName). This makes it easier for people to find your page.
To create a username:
- Go to your page and click on “Create @Username” under your page’s name.
- Choose a username that reflects your business and is easy to remember. Facebook limits usernames to a maximum of 50 characters and requires them to be unique.
Step 7: Add a Call-to-Action (CTA) Button
One of the most valuable features of a Facebook Business Page is the ability to add a Call-to-Action (CTA) button. This button encourages visitors to take specific actions, such as contacting your business, shopping from your website, or booking a service.
To add a CTA button:
- Under your cover photo, click the “Add Button” option.
- Select from options like “Contact Us,” “Shop Now,” “Sign Up,” or “Book Now.”
- Customize the button based on the action you want users to take, then click “Save.”
This button provides a direct and simple way for visitors to engage with your business.
Step 8: Create Your First Post
Now that your page is set up, it’s time to make your first post. Your first post sets the tone for your business page, so make sure it’s engaging and relevant. Here are a few ideas:
- Welcome Post: Introduce your business and what visitors can expect from your page.
- Special Offers: If you have a promotion or offer, this is a great way to kick things off.
- Product Showcase: Share a post that highlights your best-selling products or services.
To create a post:
- Go to the “Create Post” section of your page.
- Write your post and upload any relevant photos or videos.
- Click “Post.”
You can also schedule posts to go live at a later date or time, helping you maintain a consistent posting schedule.
Step 9: Invite People to Like Your Page
Once your page is ready, start building your audience by inviting people to follow it. Begin by inviting your personal Facebook friends:
- Go to your page and click the “…” icon (three dots).
- Select “Invite Friends.”
- Choose the friends you want to invite and click “Send Invites.”
You can also share your page on your personal profile, email newsletters, or other social media platforms to encourage more likes and follows.
Step 10: Promote Your Page with Facebook Ads
A powerful way to grow your audience is by promoting your page with Facebook Ads. Facebook’s advertising tools allow you to target specific audiences based on their location, interests, demographics, and behaviors.
Here’s how to create a Facebook ad:
- Go to Facebook Ads Manager.
- Click “Create” and select the objective for your ad (e.g., “Page Likes,” “Engagement”).
- Define your audience by selecting their age, location, gender, and interests.
- Set your budget and the duration of your ad campaign.
- Create the ad by uploading images or videos and writing engaging ad copy.
- Review and submit your ad.
This strategy can help you quickly gain followers and boost engagement on your Facebook Business Page.
Step 11: Monitor and Improve Your Page
Facebook provides detailed analytics through the Insights feature, allowing you to track your page’s performance. Use these metrics to understand how your posts are performing and how your audience is engaging with your content.
Here are key metrics to keep an eye on:
- Page Likes: The total number of likes and follows your page receives.
- Post Reach: How many people your posts are reaching.
- Engagement: The number of likes, comments, and shares your posts receive.
- Demographics: The age, gender, and location of your audience.
By regularly reviewing these insights, you can refine your content strategy to improve engagement and grow your audience.
Best Practices for Managing Your Facebook Business Page
Creating your page is just the first step. To succeed, you need to actively manage and optimize your Facebook Business Page. Here are some best practices to follow:
- Post Consistently: Keep your audience engaged by posting regularly. Aim for at least 3-5 posts per week.
- Engage with Your Audience: Respond to comments, questions, and messages promptly to build strong relationships with your customers.
- Use High-Quality Visuals: Always include eye-catching images or videos in your posts to increase engagement.
- Experiment with Content: Test different types of content, such as polls, videos, and live streams, to see what resonates most with your audience.
Stay Updated: Keep up with Facebook’s updates and trends to ensure your page stays relevant.
Conclusion
Learning how to create a Facebook Business Page is an essential step in building a robust digital presence for your business. From setting up the page to managing it effectively, the process involves several steps that, when done right, can have a significant impact on your brand’s visibility and customer engagement.
By following this guide, you’ll be able to not only make a Facebook Business Page, but also ensure that it becomes a vital tool in your marketing strategy, helping you connect with your audience and grow your business in the competitive online landscape.
